Why the browser isn't enough
The editor runs the real LVGL 8.4 engine, so the canvas shows the same pixels the board will. The pixels are right. What the browser can't show you is how they feel on the hardware.
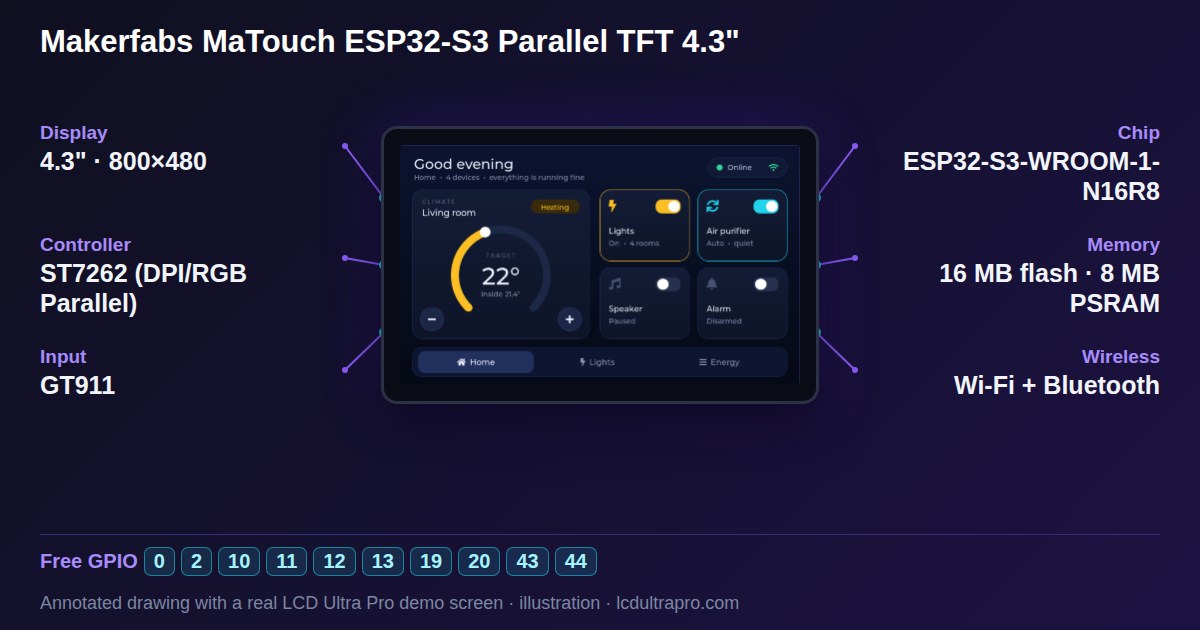
A 4.3 inch 800×480 panel has far smaller pixels than your monitor, so 14 px text that looks generous in the editor can be tiny on the board. Colours shift too. A dark grey that reads as a subtle card on an IPS monitor can vanish on a cheaper panel, and a thin 1 px border may not survive at all. None of this is a bug. It's just the difference between a screen you sit in front of and one that's mounted on a wall or held in a hand.
What it does
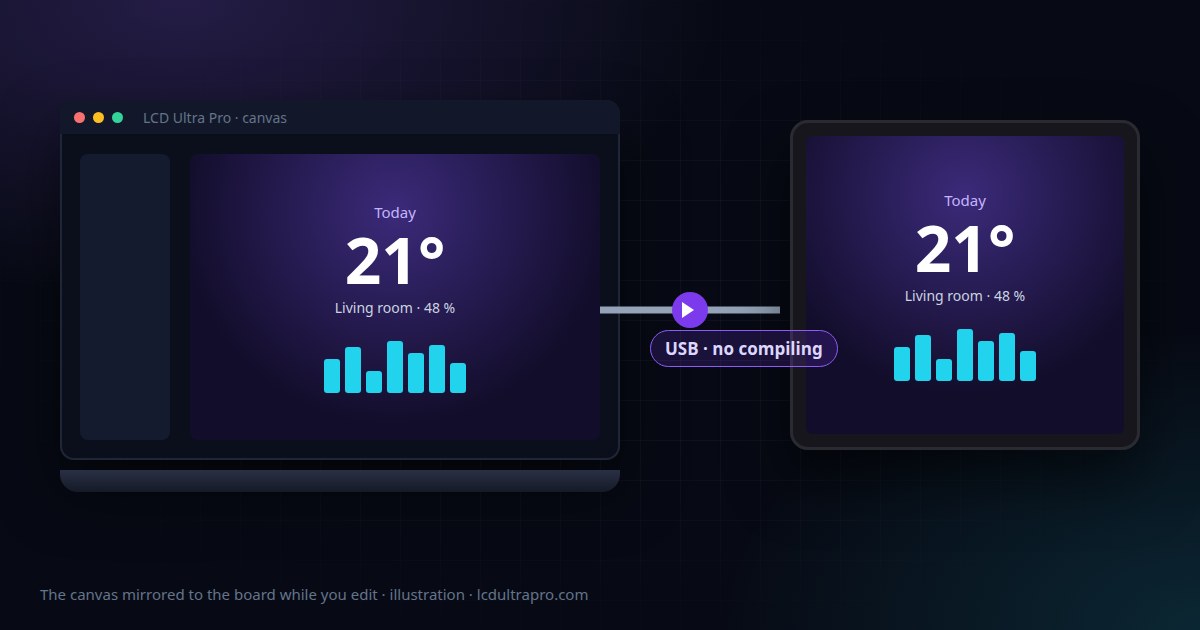
You install a small preview program on the board once. After that, the editor streams the canvas to it over USB. Move a widget, change a colour or a font size, and the board catches up. The editor waits until you pause for 0.4 seconds, then sends the new frame, so it doesn't flood the cable while you're still dragging. There's no Arduino IDE, no compile and no upload in between.
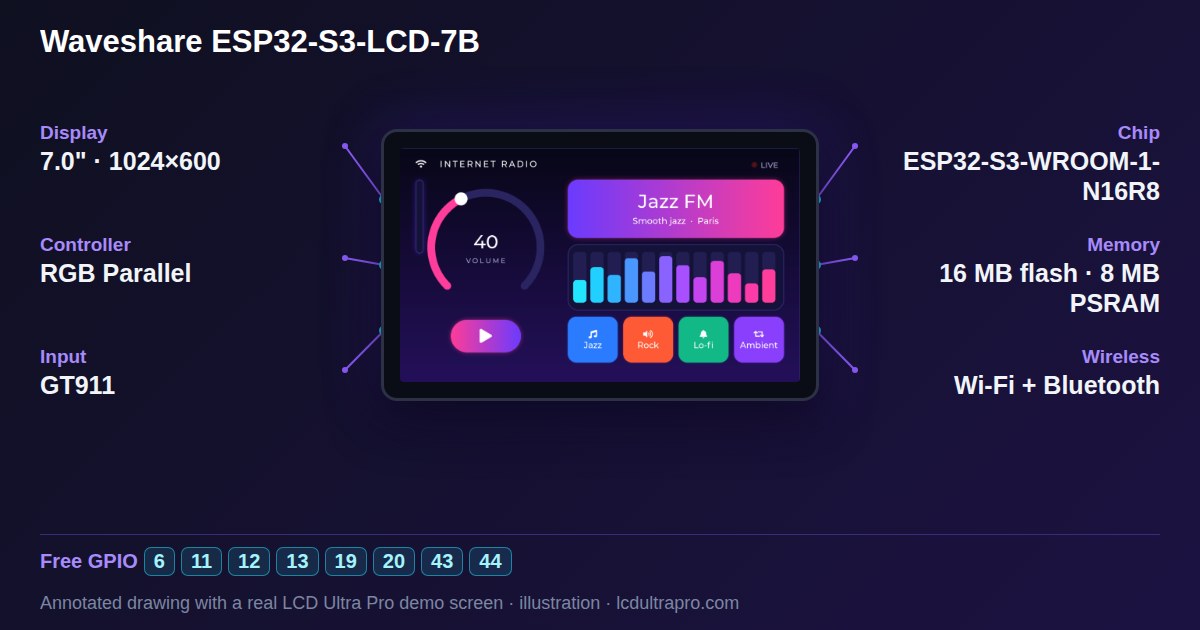
Under the hood each frame is sent in whichever form is smallest: raw, run-length encoded or JPEG. Flat UI screens compress very well with run-length encoding, and as soon as there's a photo in the background JPEG takes over. You don't have to choose, and it keeps most frames small, which matters a lot on a 1024×600 screen.
What it doesn't do
This is the part people expect differently, so to be clear: USB Live shows the picture and nothing else. Touch on the board does nothing in this mode, your rules and timers don't run on it, and nothing is stored on the board. Unplug it and the design is gone.
For behaviour there's Live Preview in the browser, where buttons, sliders and rules actually work. To have the design on the board for good, with touch, you export the project and upload it from the Arduino IDE. USB Live sits between the two. It answers how the screen looks, and leaves the question of how it works to the other tools.
Setting it up
You need Chrome or Edge on a desktop computer. USB Live uses the browser's Web Serial support, which Firefox and Safari don't have.
- 1Plug the board in through its native USB port. On boards with two USB-C sockets that's the one marked USB, not UART.
- 2Open Run on device, check that the board shown is exactly yours, and press Install. Pick the board from the browser's port list.
- 3Wait 10 to 20 seconds until the log says Done. The board restarts and shows the LCD Ultra Pro logo.
- 4Press Start, pick the board again, and close the window once it says Running on the board. Keep editing.
The install is a one-off per board. Next time it's just Start. Keep the browser tab open while you work. To stop, unplug the board or reload the page.
When it won't connect
Usually it's the port. In the browser's list the right one is called something like USB JTAG/serial debug unit or USB Serial Device. If you only see CH343, CH340 or CP210x, you're on the UART socket, so move the cable. If the board doesn't show up at all, try another cable. Plenty of USB-C cables only carry power.
Failed to open serial port means something else has it, and the usual suspect is the Arduino IDE's serial monitor left open in the background. If Install hangs at Connecting, put the board into download mode by hand: hold BOOT, tap RESET, let go of BOOT, then try again.
And a black screen after Start is often just an empty canvas. Put a widget on it.
How I'd use it
Leave it running for the whole layout phase, not just at the end. Fixing font sizes and contrast while you build a screen is quick. Fixing them after you've built eight screens around the wrong size is not. Once the layout is settled, switch to Live Preview to get the rules right, and only export when both look right. You'll compile once instead of six times.
- #usb live
- #lcd ultra pro
- #esp32-s3
- #web serial
- #lvgl