8 or 9?
LVGL 9 renamed and reshaped a lot of the API. lv_disp_drv_t and friends from version 8 are gone, and the display and input setup works differently. Neither is wrong. But almost every CYD example online, and every LCD Ultra Pro export, is written for 8.x. If you're starting out, I'd install LVGL 8.4 and stick with it until the project works. Upgrading later is easier than debugging two unknowns at once.
In the Arduino IDE's Library Manager, pick the version from the dropdown next to Install. The default is always the newest.
lv_conf.h
LVGL won't compile without a configuration file, and in the Arduino world its location is the first hurdle. The classic place is the Arduino libraries folder, next to the lvgl folder, not inside it. Copy lv_conf_template.h from the library, rename it, and change the #if 0 at the top to #if 1. Forget that last step and the whole file is silently ignored, along with every setting you make in it.
Settings worth checking for the CYD: LV_COLOR_DEPTH 16, and LV_COLOR_16_SWAP matching your display driver. If colours come out completely wrong, noisy rather than just red and blue swapped, that swap flag is the first thing to flip.
Memory, because there is no PSRAM
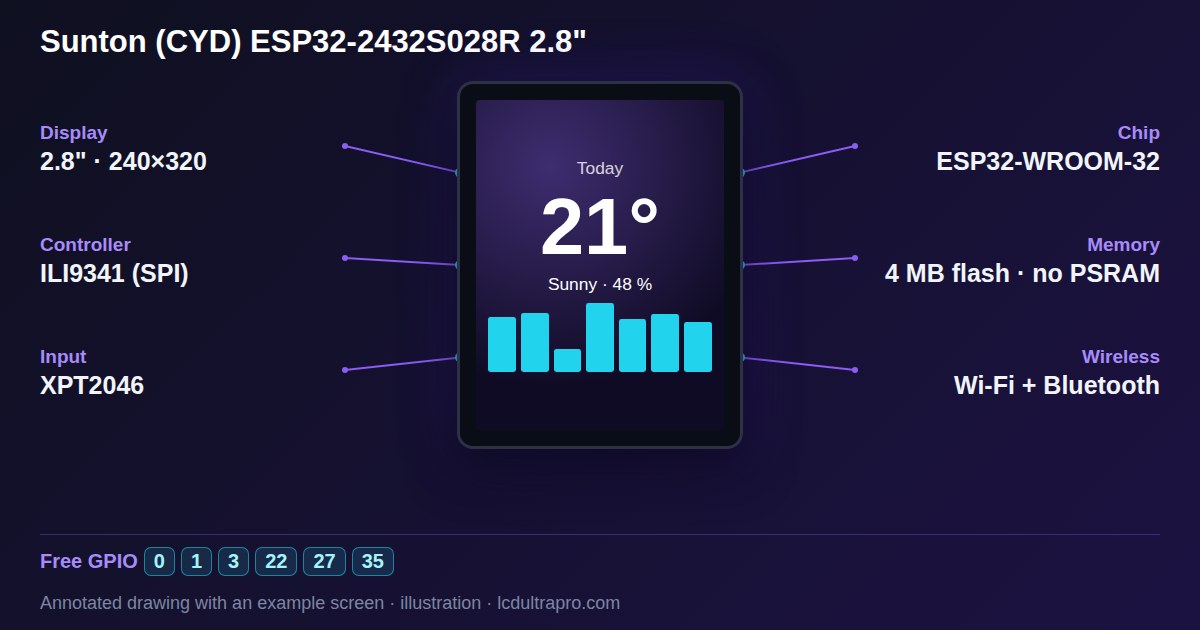
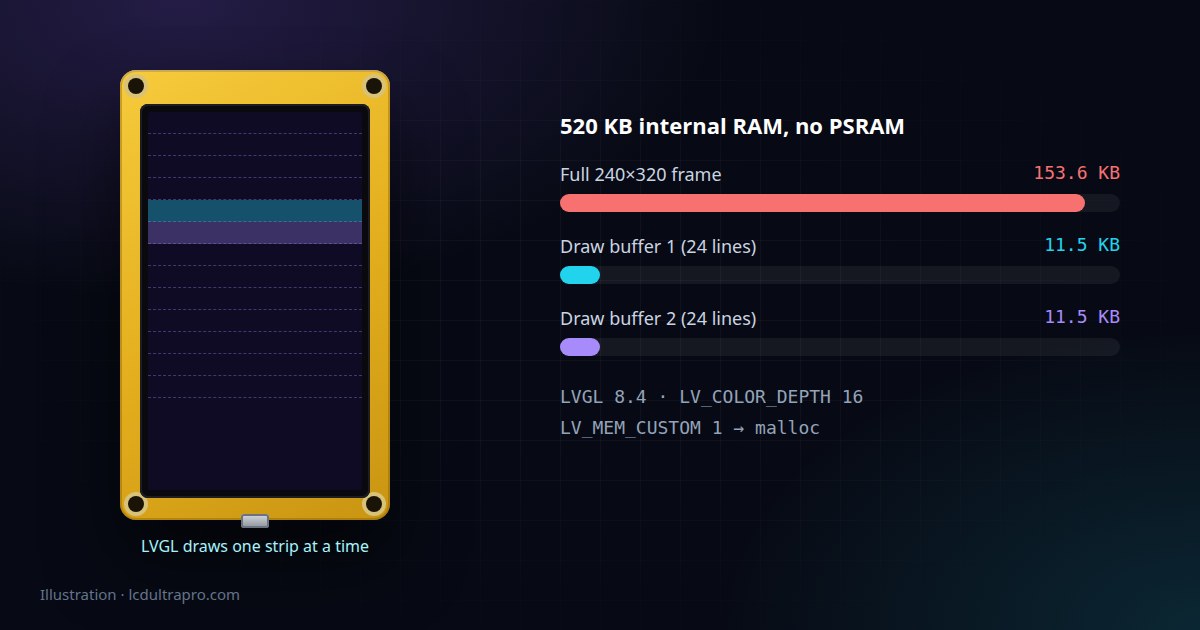
The original CYD has 520 KB of internal RAM and no PSRAM, and Wi-Fi will want a good chunk of that once it starts. A full 240×320 frame buffer at 16 bits is 153,600 bytes. You could fit it, barely, but you don't need to.
LVGL works in strips. You give it a buffer a few dozen lines tall, it draws that part of the screen, hands it to your flush function, and moves on. Two buffers of 24 lines each at 240 pixels wide come to about 11.5 KB apiece. The second buffer lets LVGL draw the next strip while the previous one is still going out over SPI, if your display driver sends asynchronously. If it doesn't, one buffer works just as well. The LCD Ultra Pro export for this board uses two 24-line buffers, and that still leaves plenty of room for Wi-Fi.
The other memory setting is LVGL's own heap. The template reserves a fixed pool with LV_MEM_SIZE. Too small and complex screens fail to build. Too big and you've taken RAM away from everything else. An alternative is to set LV_MEM_CUSTOM 1 and let LVGL use the normal malloc, so its objects share the heap with the rest of your sketch. That's what our CYD export does, and it saves you guessing a number.
The glue code
LVGL doesn't know anything about your hardware. You provide three things.
A flush callback that takes a rectangle of pixels and pushes it to the display. With TFT_eSPI or Arduino_GFX that's a few lines: set the address window, write the pixels, tell LVGL you're done. A touch read callback that returns whether the screen is pressed and where. On the CYD the XPT2046 lives on its own SPI bus, which trips up a lot of people, so if touch does nothing, read why CYD touch doesn't work before blaming LVGL. And a tick, so LVGL knows how much time has passed. Calling lv_tick_inc() with the milliseconds since the last call, from your loop, is enough.
void loop() {
  static uint32_t last = millis();
  uint32_t now = millis();
  lv_tick_inc(now - last);
  last = now;
  lv_timer_handler();
  delay(5);
}
Fonts eat flash
Every Montserrat size you enable in lv_conf.h is compiled into the firmware. Enable eight of them and wonder why the sketch no longer fits. Turn on only what you use, and set the partition scheme to Huge APP so a 3 MB program fits in the CYD's 4 MB flash. Our upload guide has the details.
Or skip most of this
Everything above is a one-time cost, but it's a real one, and none of it is the part you actually wanted to build. LCD Ultra Pro does the setup side for you. You design the screens in the browser with the real LVGL 8.4 engine, try the buttons and rules in Live Preview, and export an Arduino project that already has the CYD's display driver, touch, buffers and lv_conf.h in place. The README lists the library versions it was compiled against, which matters more than it should with display libraries. One limit to know about: the CYD has no native USB, so USB Live, the feature that mirrors the canvas onto the board while you edit, doesn't work on it.
Either way, get a single label on the screen first. A label that says hello proves the version, the config, the buffers and the flush function all at once. Then add touch, then Wi-Fi. In that order, a problem only ever has one new suspect.
- #lvgl
- #cheap yellow display
- #esp32-2432s028r
- #lv_conf.h
- #arduino_gfx
- #draw buffer