What it will show
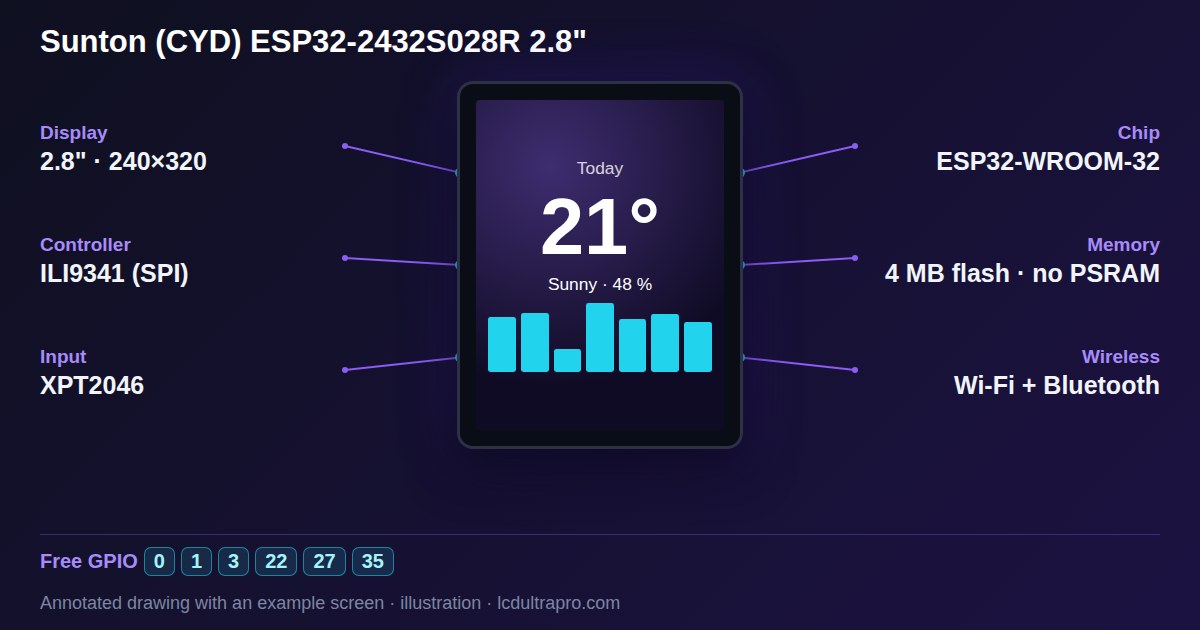
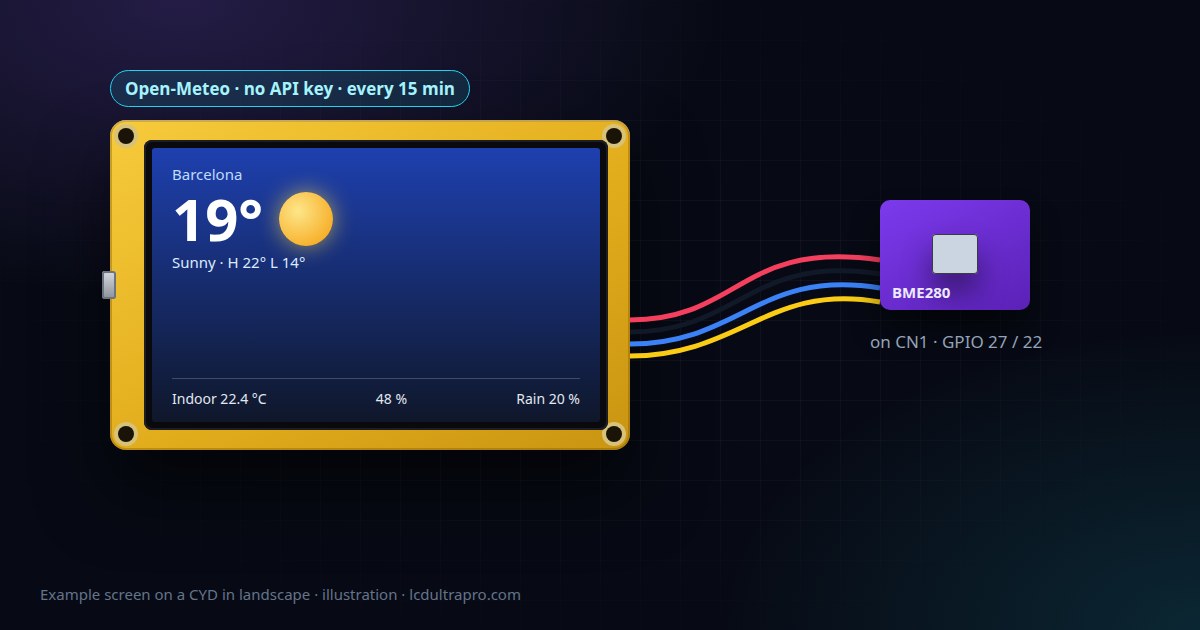
The top of the screen gets the forecast: current temperature, a short description, today's high and low, the chance of rain and an icon. Below it, the temperature and humidity inside the room from a BME280. That's it. On a 2.8 inch screen, less is more, and you want it readable from across a desk.
Parts: the CYD, a BME280 breakout and a cable that fits the small 4-pin CN1 connector.
Turn the screen sideways
Create a new project and pick the ESP32-2432S028R, then switch it to landscape. The CYD supports both, and the weather card in the editor is 320 pixels wide, which is exactly the long side of this screen. In portrait it won't fit.
The forecast
Drop the Weather component onto the screen and choose your town in its settings. If it isn't in the list, pick the other-place option and type in latitude and longitude, which you can copy from any map app. The data comes from Open-Meteo, which is free and doesn't need an account or an API key. The board fetches it every 15 minutes by itself, whatever screen is showing.
That one component does the work you'd otherwise write by hand: building the request, parsing the JSON, mapping weather codes to an icon and a description. If you'd rather do that part yourself as practice, the generated code is plain Arduino C++ you can read after exporting.
Indoor temperature from CN1
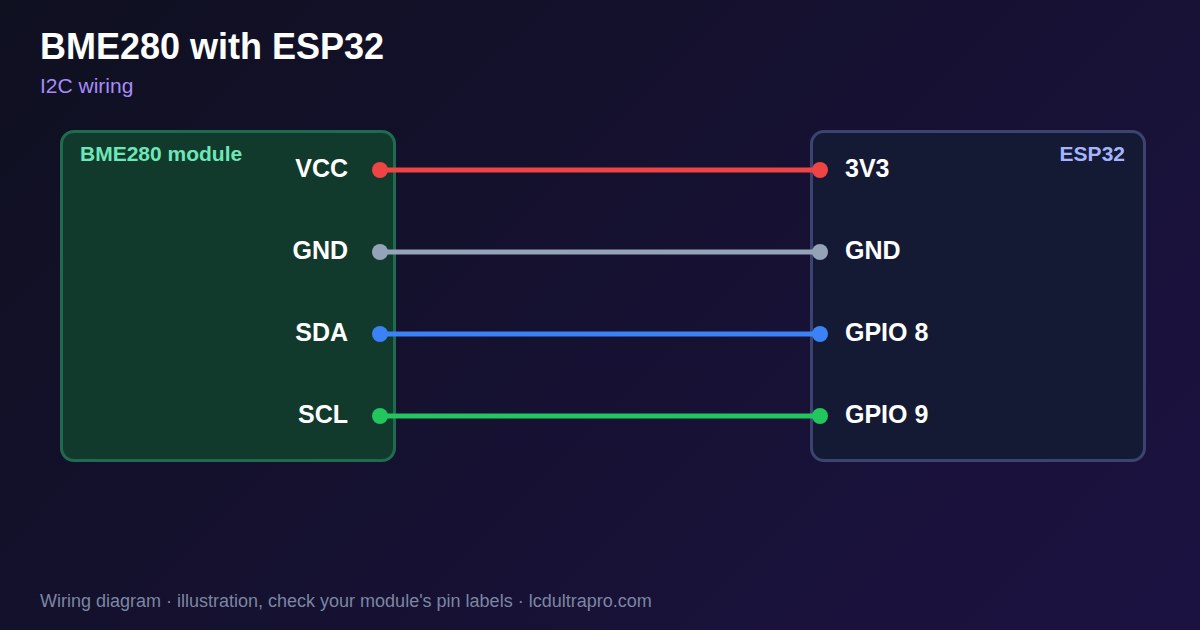
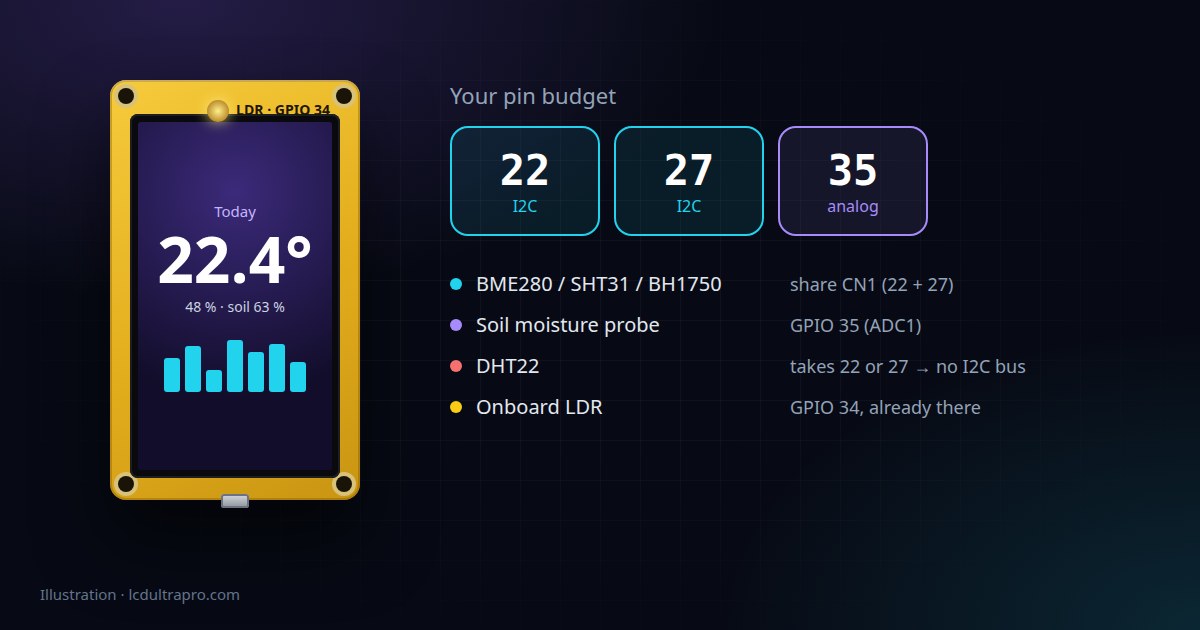
The BME280 talks I2C, and CN1 is the CYD's I2C-friendly connector: GPIO 22, GPIO 27, 3.3 V and ground. Wire VCC to 3.3 V, GND to ground, and SDA and SCL to the two GPIOs. There's more on why CN1 is the right place in which CYD pins are actually free.
In the editor, the BME280 is one of the sensors built into the rules. Add two labels under the weather card, give each a rule that shows the sensor's temperature or humidity, and the export includes the library and the reading code. The BME280 page has the wiring and a stand-alone code example if you want to test the sensor on its own first.
Wi-Fi without a setup screen
On bigger boards the editor has a ready-made Wi-Fi setup screen where you pick a network and type the password on the display. It needs at least a 3.5 inch screen, so it isn't offered on the CYD. Here the Wi-Fi details go into a small file instead.
After exporting, copy secrets_example.h to secrets.h in the same folder and fill in your network name and password. That file stays on your computer. It never goes into the project in the cloud, a new export never overwrites it, and you shouldn't share it or commit it anywhere.
Build and upload
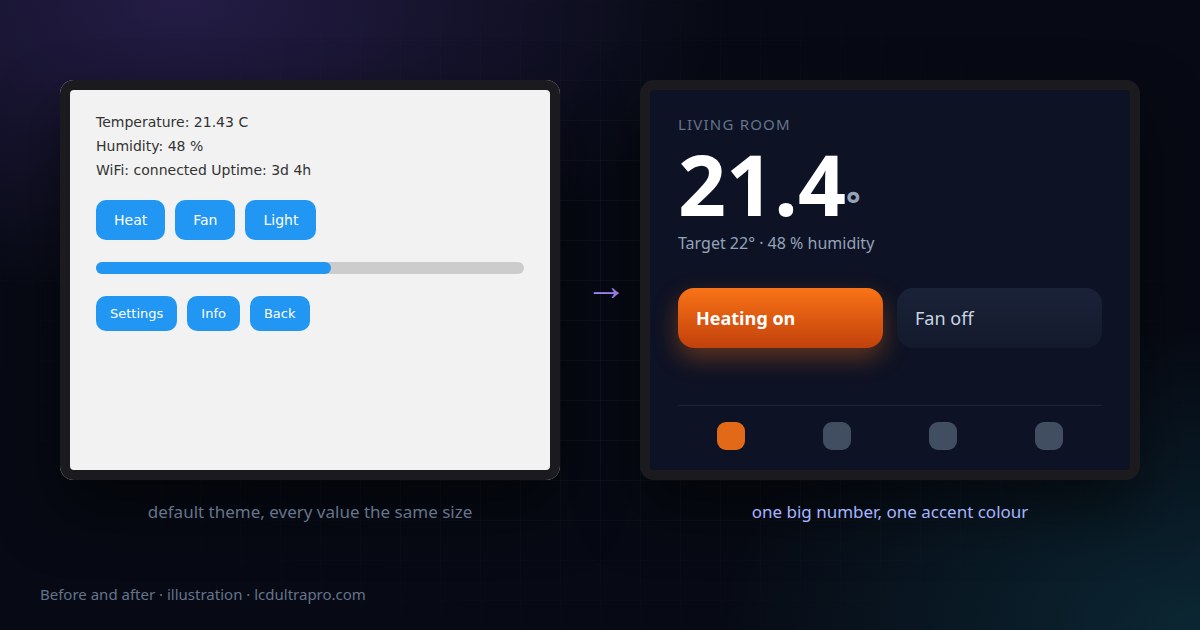
Check the layout in Live Preview before you export. Text that looks fine at monitor size can be cramped on 320×240, and the 28-point font for the big temperature is worth trying against the smaller ones. Then export, open the sketch in the Arduino IDE and set it up exactly as the README in the ZIP says: board, 4 MB flash, the Huge APP partition scheme and the listed library versions. An LVGL project with Wi-Fi outgrows the default partition quickly, which is why the README asks for Huge APP.
If it won't upload, this checklist covers the usual causes. If the screen stays white, this one.
Small things that make it better
Rules can react to the weather values as well as display them. A card that turns a different colour when rain is likely today is a nice touch and takes a minute to set up. If it lives on a bedside table, plan for a dimmer screen at night. The CYD's backlight is PWM-controlled on GPIO 21, so it can be turned down rather than just off.
And keep the BME280 a few centimetres away from the board, at the end of its cable. The ESP32 and the backlight warm the area right behind the screen, and a sensor taped to the back can easily read high.
- #cheap yellow display
- #weather station
- #open-meteo
- #bme280
- #esp32 project